DIY Weed Killer: Your Natural Homemade Weed Killer Recipes
Published on
September 8, 2025
Author
Ryan Johnson
Ryan Johnson relocated to his grandfather's old farm when he was 22 years old where he discovered the joys of farming and gardening. With his cool demeanor and strong-willed passion for the agrarian lifestyle, he now shares his know-how to aspiring gardeners.
Ornamental Plants Q&A
Can I grow ornamental plants with names I do not know in pots?
Yes! Almost any plant can thrive in a container as long as the pot is the right size and has drainage holes at the bottom. From indoor houseplants to outdoor shrubs like boxwoods, the key is simply matching the container to the plant's root size and ensuring excess water can escape.
What is the difference between an annual and a perennial plant?
This is a great question for any new gardener. An annual plant, like a Marigold or a Zinnia, lives its whole life in just one year. You plant the seed in the spring, it grows flowers all summer, and when the winter cold comes, it dies completely, meaning you have to plant new ones next year. A perennial plant, like a Hosta or a Lavender, will go to sleep during the winter but its roots stay alive, and it will push out new green leaves and flowers every single spring for many years.
Are beautiful ornamental plants hard to take care of?
Not at all. The secret to low-maintenance gardening is "right plant, right place." A shade-loving plant put in a dark corner will thrive with almost no effort, whereas a sun-loving plant in that same spot will constantly struggle. Once you match a plant to your yard's specific sunlight and soil moisture, many stunning ornamentals will practically take care of themselves.
Growing Bell Peppers Q&A
Are peppers easy to grow for beginners?
Yes, sweet bell peppers are generally easy to grow as long as you wait until the weather is thoroughly warm before planting them outside. Providing consistent water and full sun does most of the heavy lifting.
Do I need to wear gloves when handling sweet bell peppers?
No. While handling hot peppers requires care (and often gloves) to avoid burning your skin or eyes with capsaicin, sweet bell peppers have zero heat and are perfectly safe to handle bare-handed.
Can I grow a bell pepper from a scrap from my kitchen?
While you can technically harvest seeds from a store-bought pepper scrap, it is not recommended. Grocery store peppers are often hybrids, meaning their seeds will not grow true to the parent plant, and they may be treated to prevent germination. It is always better to buy dedicated pepper seed.
Garden Styles Q&A
How do I find my garden style?
To find your garden style, gather garden design ideas that match your personal taste and outdoor space. Whether you work alone or hire a landscape architect or garden designer for your project, find the perfect fit by looking at various styles. You might prefer the clean lines of a modern garden or the meandering paths of a Japanese garden style.
What is the best design style for a small garden or apartment?
For an apartment, small garden, or urban garden, container gardening is your best friend. A courtyard or city garden setup looks great with the sleek lines and hardscape of contemporary gardens. You can also create a mini Mediterranean garden with fragrant herbs like rosemary in pots, or a compact tropical gardens layout with bold tropical plants.
How do I choose the right plants for my landscape?
Choosing the right plants makes your garden complete. For a low-maintenance landscape, rely on native plants and drought-tolerant plants. Always match the planting to your design style: use Japanese maples and bonsai trees for a Japanese garden, a neat shrub or hedge for a formal garden style, and wildflowers or grass for a naturalistic space.
DIY Weed Killer: Natural Homemade Weed Killer Recipes with Vinegar
Keeping your garden healthy and weed-free doesn’t have to mean relying on harsh chemicals. Many commercial weed killers are packed with toxic ingredients that can harm your soil, pets, and even beneficial plants. Luckily, there are safer and more sustainable alternatives you can make right at home. In this guide, we’ll explore DIY weed killer recipes using one of the most effective natural ingredients—vinegar. These homemade solutions are simple, budget-friendly, and eco-conscious, making them perfect for anyone who wants to control stubborn weeds while protecting the environment.
Benefits of DIY Weed Killers
Before we dive into recipes, let’s look at why more people are switching to homemade weed killers instead of relying on commercial herbicides.
1. Safe for People and Pets
One of the biggest concerns with chemical herbicides is the residue they leave behind. Many store-bought products contain harsh chemicals that can linger in soil, grass, or on plants long after application. This makes it risky for families with children and pets who love to play outdoors. Homemade weed killers, on the other hand, are typically made from safe, everyday ingredients such as vinegar, salt, or boiling water. These natural solutions don’t leave behind harmful toxins, allowing you to maintain a weed-free yard without worrying about exposure to dangerous chemicals.
2. Environmentally Friendly
Commercial weed killers don’t just affect weeds—they can disrupt ecosystems. The runoff from chemical sprays can seep into groundwater, affecting drinking water sources and nearby bodies of water. They can also harm pollinators, soil microbes, and beneficial insects that keep your garden balanced. DIY weed killers, by contrast, are made from biodegradable ingredients that naturally break down in the soil without causing long-term harm. By choosing homemade solutions, you’re protecting not only your garden but also the wider environment.
3. Cost-Effective
Herbicides at garden centers can be pricey, especially if you have a large lawn or garden that needs repeated treatments. DIY weed killers are much more affordable since they use pantry staples like vinegar, dish soap, and salt—items you likely already have at home. Even more advanced options, like cornmeal or mulch, are cost-effective compared to branded weed control products. Over time, making your own weed killers can save you a significant amount of money while still being just as effective.
4. Simple and Accessible
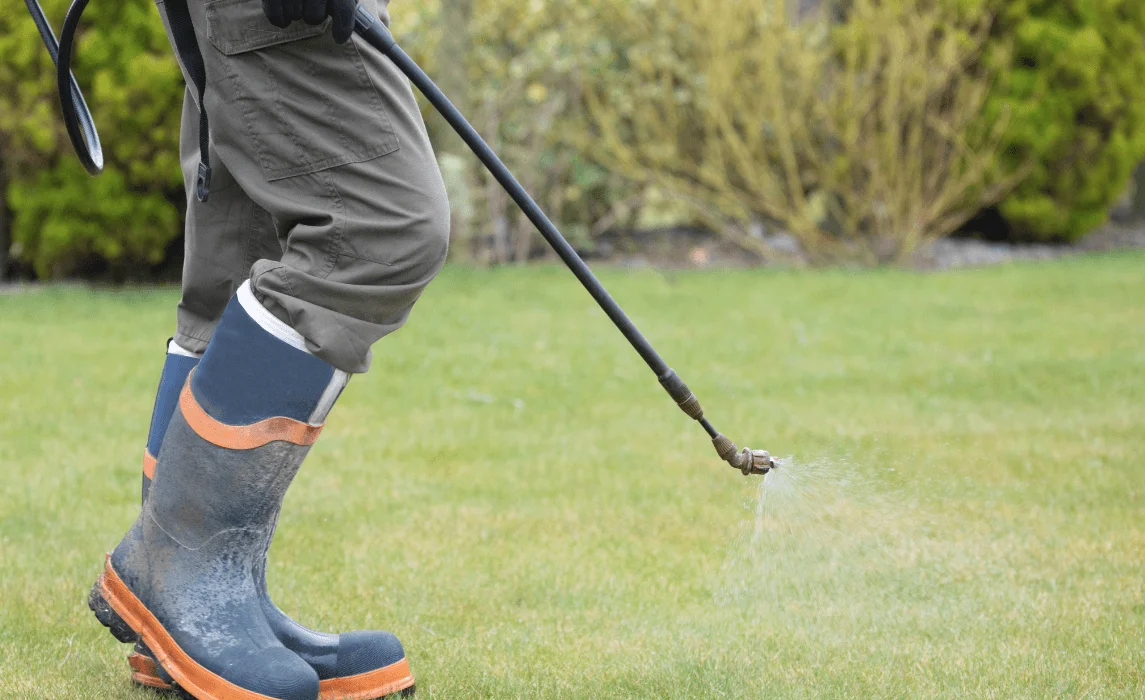
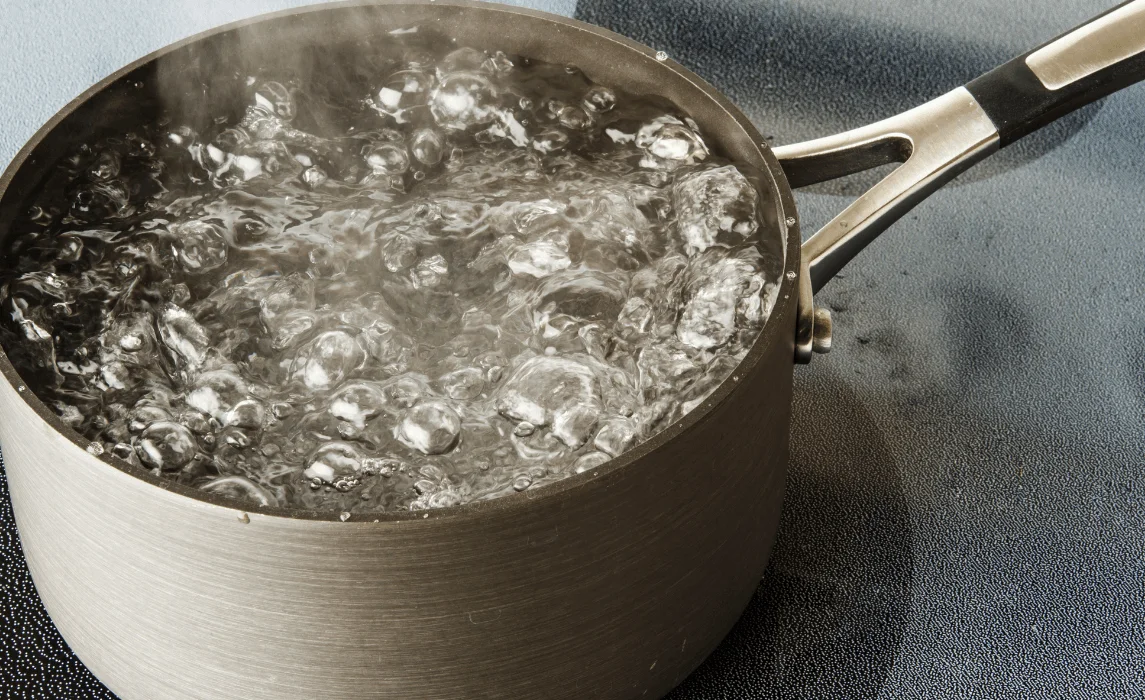
You don’t need special equipment, complicated mixing instructions, or advanced gardening skills to use DIY weed killers. Most methods only require basic household tools like a spray bottle, a kettle, or a pair of gardening gloves. Some approaches, like boiling water or hand pulling, can be done immediately without any preparation. This accessibility makes DIY methods ideal for beginners, busy homeowners, or anyone who wants a quick, natural solution to weeds without the hassle of handling toxic products.
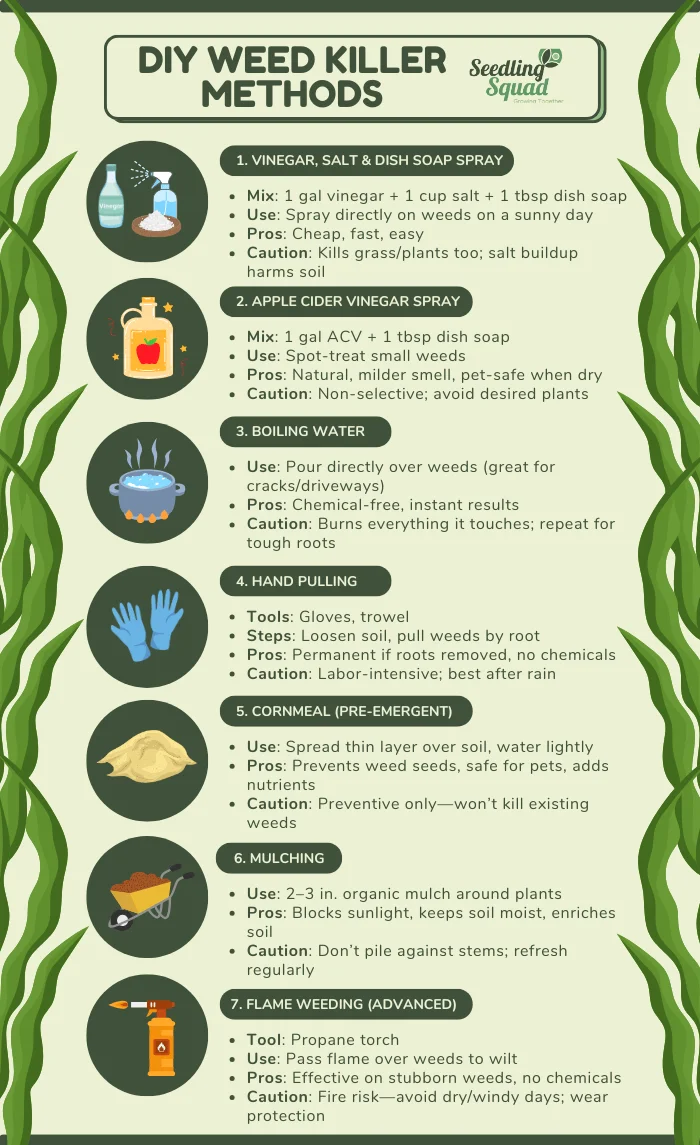
Here are some of the most effective and natural ways to kill weeds, ranked from the classic vinegar spray to simple everyday strategies like mulching and hand pulling.
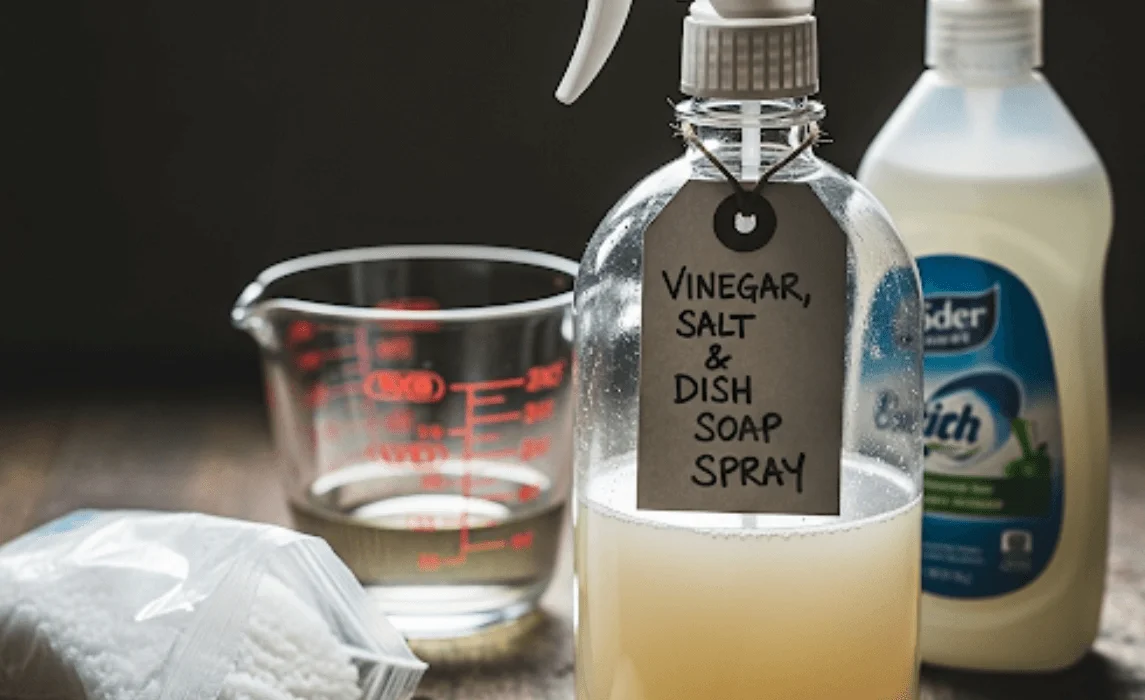
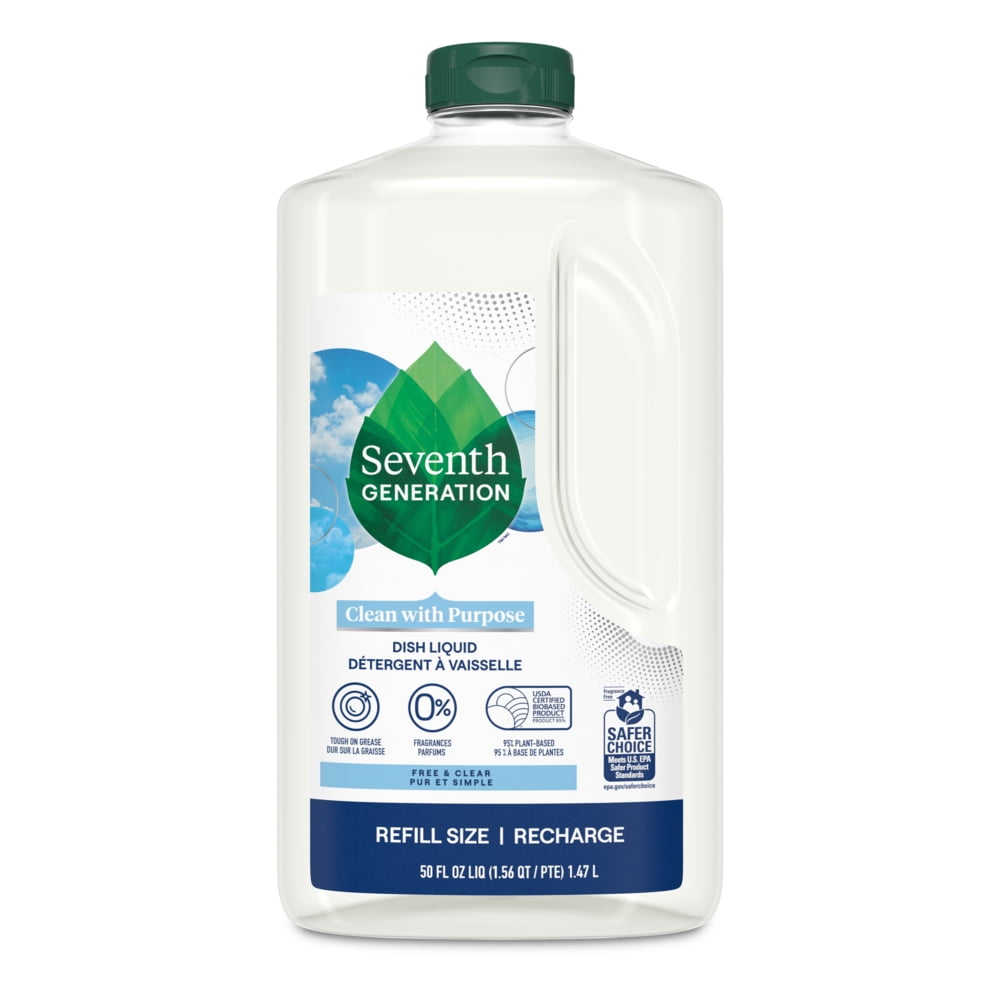
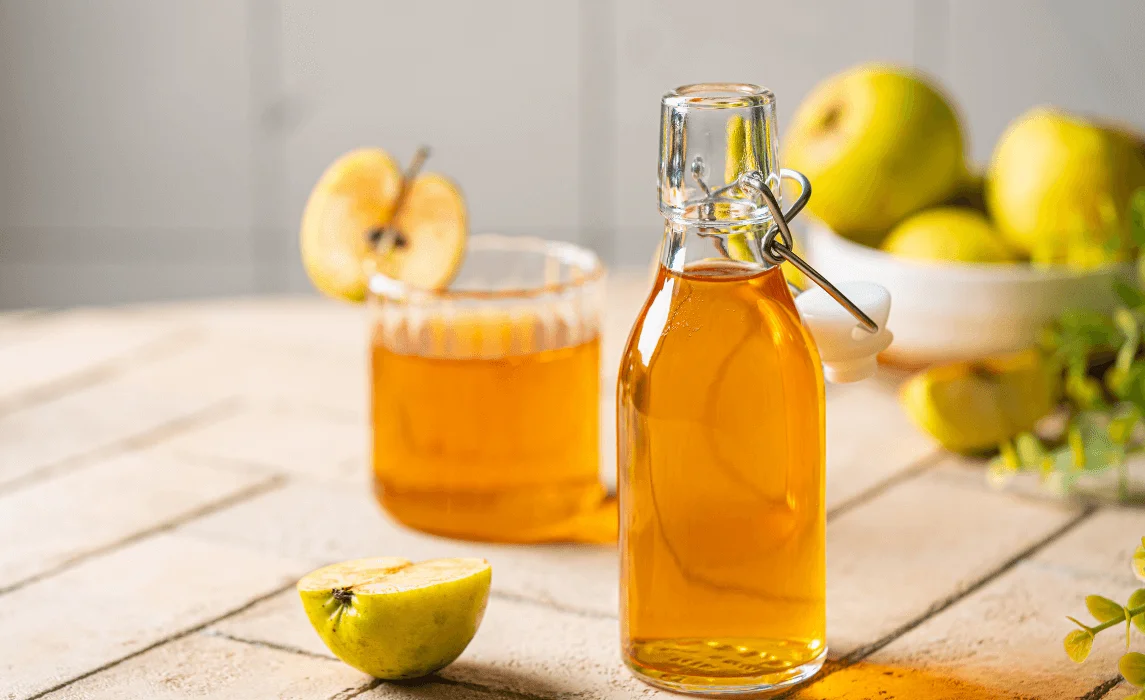
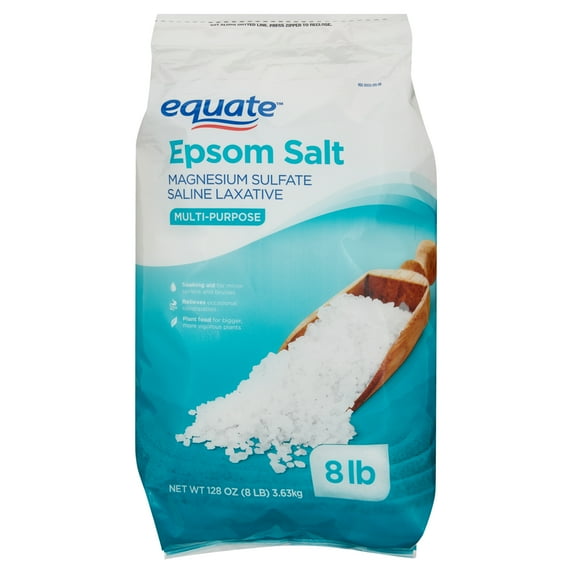
1. Vinegar, Salt, and Dish Soap Spray
This is the most popular homemade weed killer recipe because it’s effective, quick to prepare, and made from simple kitchen items.
Ingredients/Tools Needed:
1 gallon of white vinegar (5% acetic acid or higher)
1 cup of salt (table salt or Epsom salt)
1 tablespoon of liquid dish soap
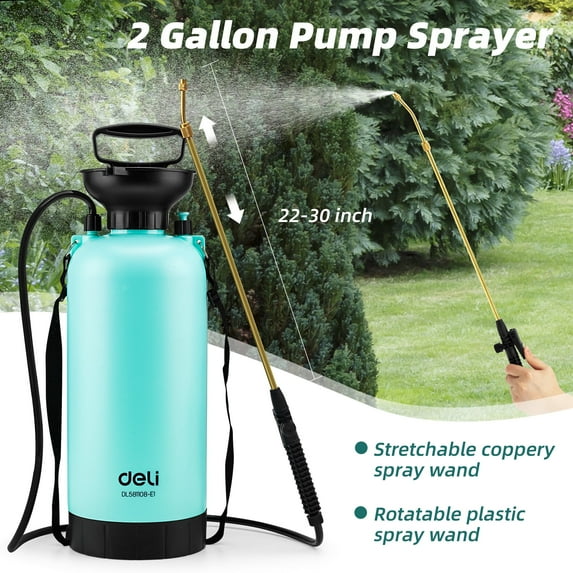
Spray bottle or garden sprayer
Step-by-Step Guide:
In a large bucket, mix vinegar and salt until the salt dissolves completely.
Add the dish soap and stir gently—don’t shake too hard or it may foam.
Pour the mixture into a spray bottle or pump sprayer.
Spray directly onto weed leaves, making sure they’re fully coated.
Apply on a sunny day for maximum effect, as sunlight speeds up the drying and killing process.
Advantages:
Budget-friendly and uses items already at home.
Works quickly, especially on young weeds.
Easy to prepare in under 10 minutes.
Notes & Safety:
Avoid spraying on grass, flowers, or garden plants since vinegar and salt are non-selective and will damage them too.
Salt buildup in the soil can make it harder for future plants to grow, so use sparingly.
Vinegar is effective at killing most young, tender, and shallow-rooted weeds such as chickweed or small annual weeds. The acetic acid in vinegar dries out the plant’s leaves and stems, causing them to wither. However, it’s less effective against deep-rooted or perennial weeds like dandelions, crabgrass, or thistles. These tougher weeds may require repeated applications, higher-strength vinegar, or a combination of vinegar spray with manual removal to fully eliminate them.
2. Can DIY weed killers harm grass and plants?
Yes. DIY weed killers such as vinegar, salt, and boiling water are non-selective, meaning they don’t distinguish between weeds, grass, or flowers. If they come in direct contact with your lawn, vegetable plants, or ornamental flowers, they can cause scorching, yellowing, or even death. To avoid harming desirable plants, apply these solutions carefully and directly on weeds, ideally with a spray bottle or by shielding nearby plants with cardboard or plastic during application.
3. Is homemade weed killer safe for pets?
Generally, yes—when used properly. Unlike chemical herbicides, homemade options like vinegar, salt, or boiling water don’t leave behind long-lasting toxic residues. Pets and children can safely return to treated areas once the vinegar has fully dried or the boiling water has cooled. However, concentrated vinegar (horticultural vinegar with higher acidity) can cause skin or paw irritation if touched while wet, so always let the treated area settle before allowing pets back.
4. How long does it take for natural weed killers to work?
Natural weed killers typically show visible effects within 24 hours. Weeds may start to wilt, turn brown, or dry up soon after application, especially in hot, sunny, and dry conditions, which speed up the process. For tougher weeds or cloudy weather, results may take longer, and you may need to reapply for complete control. Keep in mind that these methods work best on small or actively growing weeds, not large established ones.
5. Are these solutions permanent?
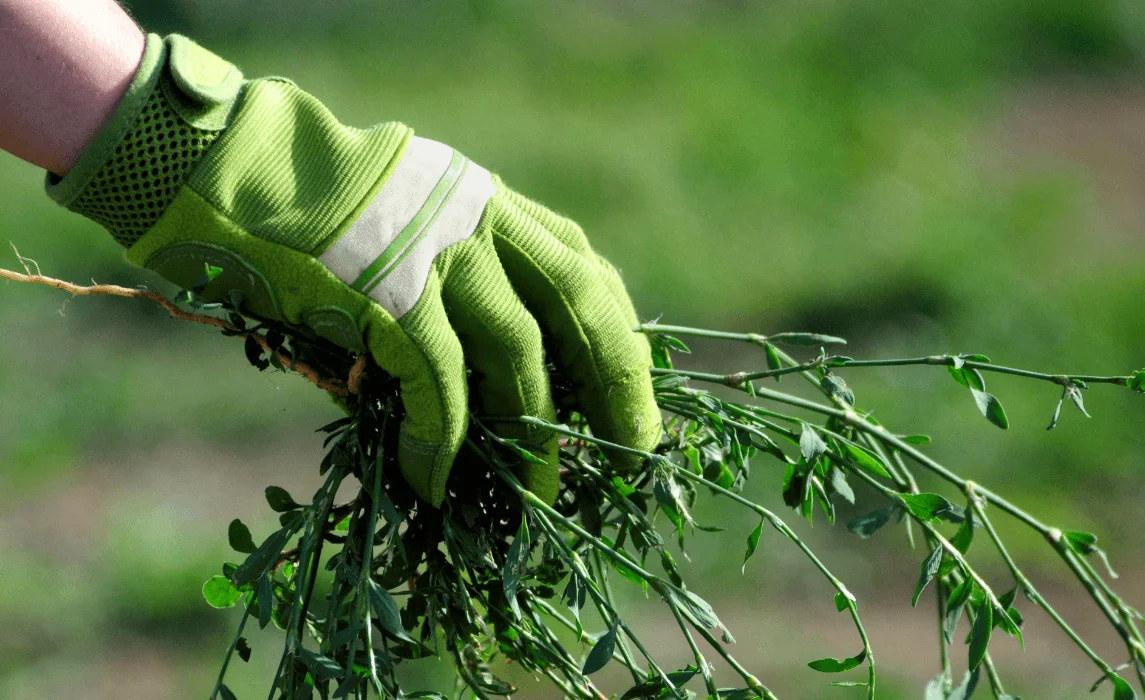
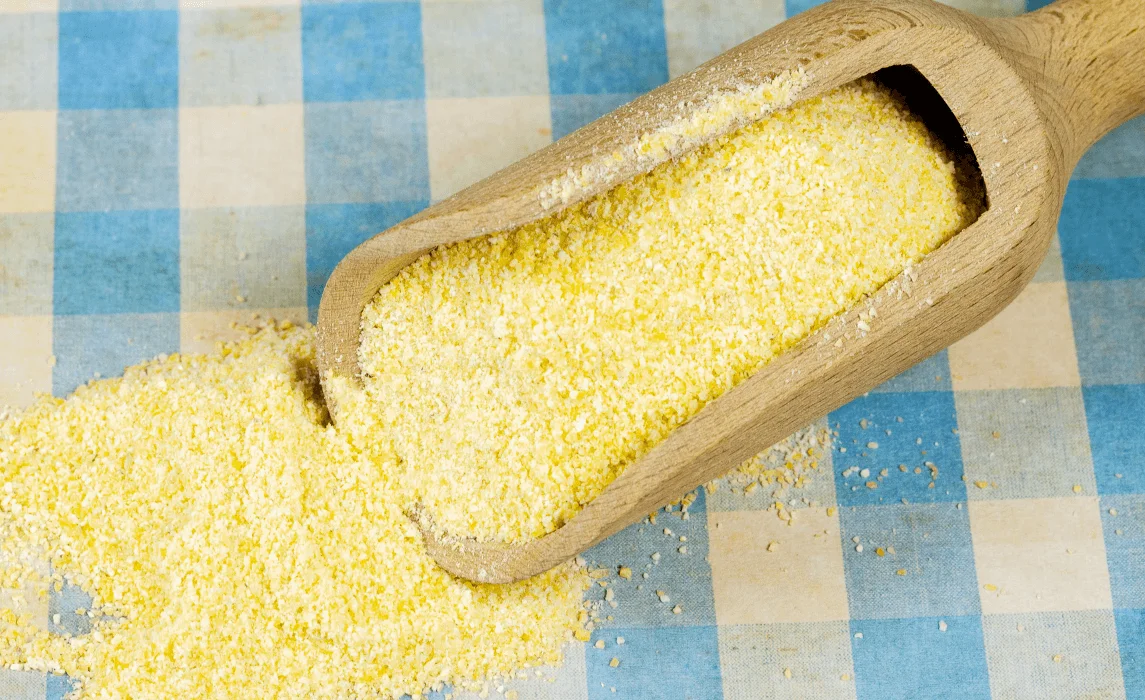
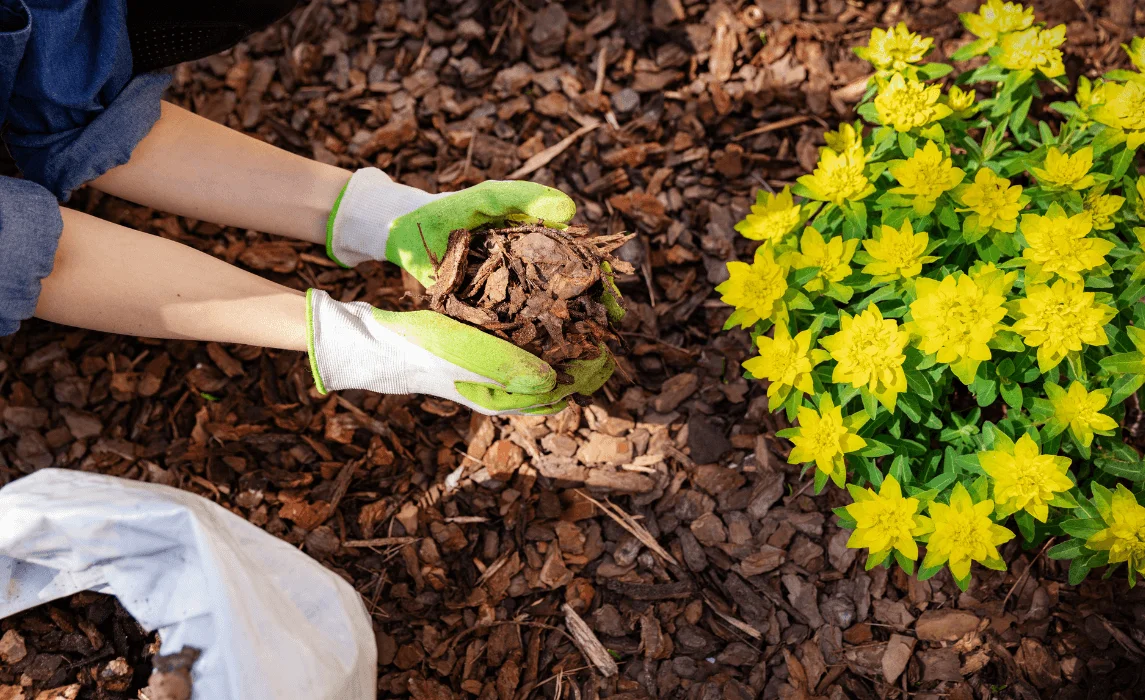
No, most DIY weed killers are not a permanent fix. While they kill the parts of the weed above the soil, many weeds—especially perennials—can regrow from seeds or deep root systems. To maintain a weed-free garden, combine these natural treatments with preventive strategies such as mulching, pulling weeds before they seed, applying corn gluten meal to block germination, or maintaining dense, healthy plant cover to crowd out weeds naturally.
Related posts
Here are some articles you might be interested in.


.webp)